Customizing the Squarespace Announcement Bar
Take the Squarespace announcement bar from boring to unique with these custom CSS tips and tricks. Learn how to turn on the announcement bar, change fonts, and add fun colors and patterns to make it stand out.

Squarespace’s built-in Announcement Bar is a great way to give your website a little extra something when it comes to marketing, but it tends to be a bit boring. Today, I’m sharing five ways you can customize the Squarespace Announcement Bar using CSS.
This one simple bar at the top of your website can be a great lead generator because you can use it to promote anything you like:
Promote your newest blog post, project, or service
Share a new or popular opt-in
Highlight a sale
Let visitors know your availability for the upcoming months
Relay important information (like your COVID-19 policy, upcoming leave, or a unexpected opening in your project calendar)
I’ve had clients use this space to share their best (or newest opt-in), get their latest COVID-19 policy updates in front of potential clients, and promote their new services.
Note: this is a premium feature and is only available to sites who are on a Business or Commerce Squarespace plan.
Turn on the Announcement Bar
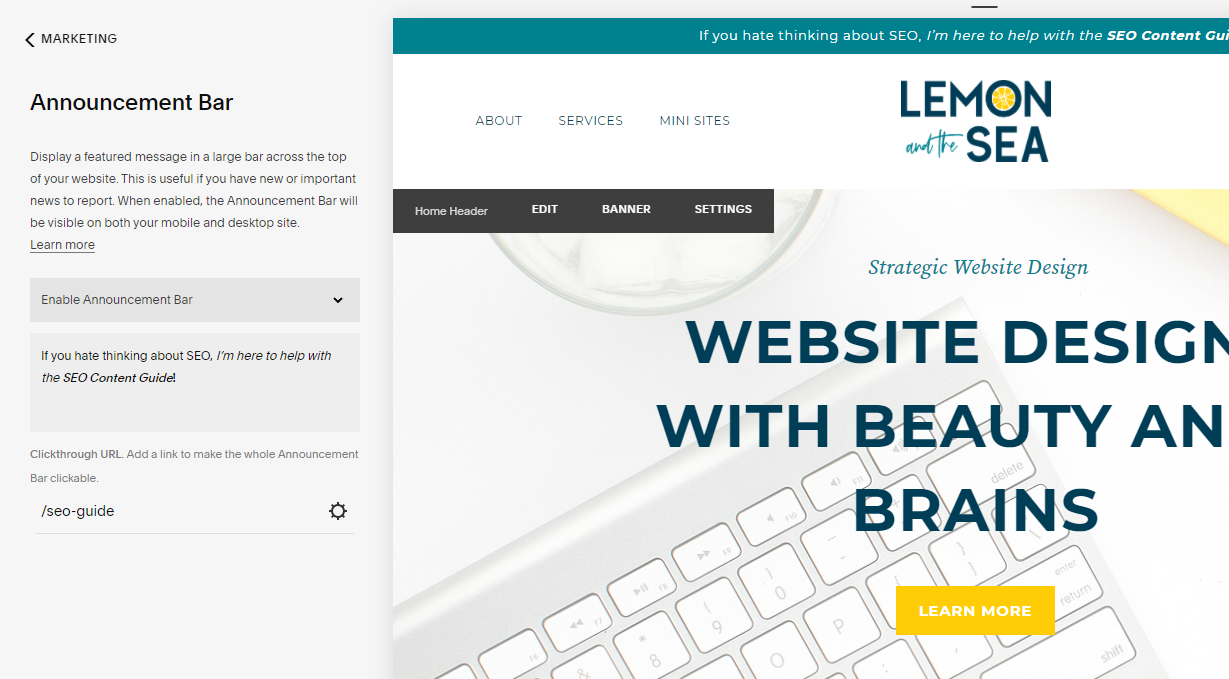
It’s easy to turn on the Announcement Bar. Simply navigate to Marketing > Announcement Bar and choose Enable Announcement Bar. Once it’s enabled, you will be able to edit the content and add a Clickthrough URL to the page you (either on or off your website) want to direct people towards.
Customize it using Style Settings
The first thing you want to do after you’ve enabled the Announcement Bar and added your copy and link is to change the color and font to match your site. You can do this under Design > Site Styles and either click on the announcement bar or scroll down to the Announcement Bar settings. These basic settings allow you to customize the background color of the bar, the text color, and the font.
Customize it using CSS
You can also use Custom CSS for more complex (and more eye-catching) designs. Below you’ll find five different ways you can customize Squarespace’s announcement bar with Custom CSS.
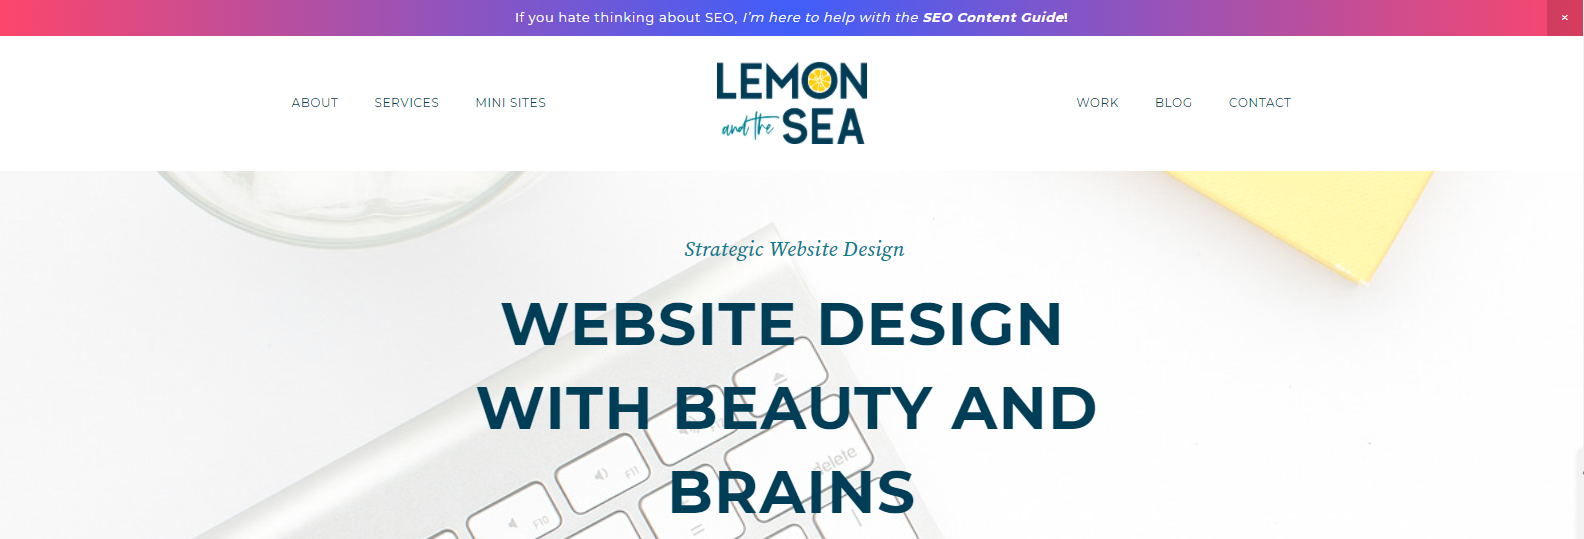
1. Add gradient background
I use CSS Gradient to create gradients for my designs. This allows me to choose the colors, type of gradient, and more. Then I can simply copy the CSS and paste it into Squarespace. They also have great examples of different gradients you can use to give you some inspiration.
.sqs-announcement-bar {
  background: rgb(63,94,251);
  background: radial-gradient(circle, rgba(63,94,251,1) 0%, rgba(252,70,107,1) 100%) !important;
  }
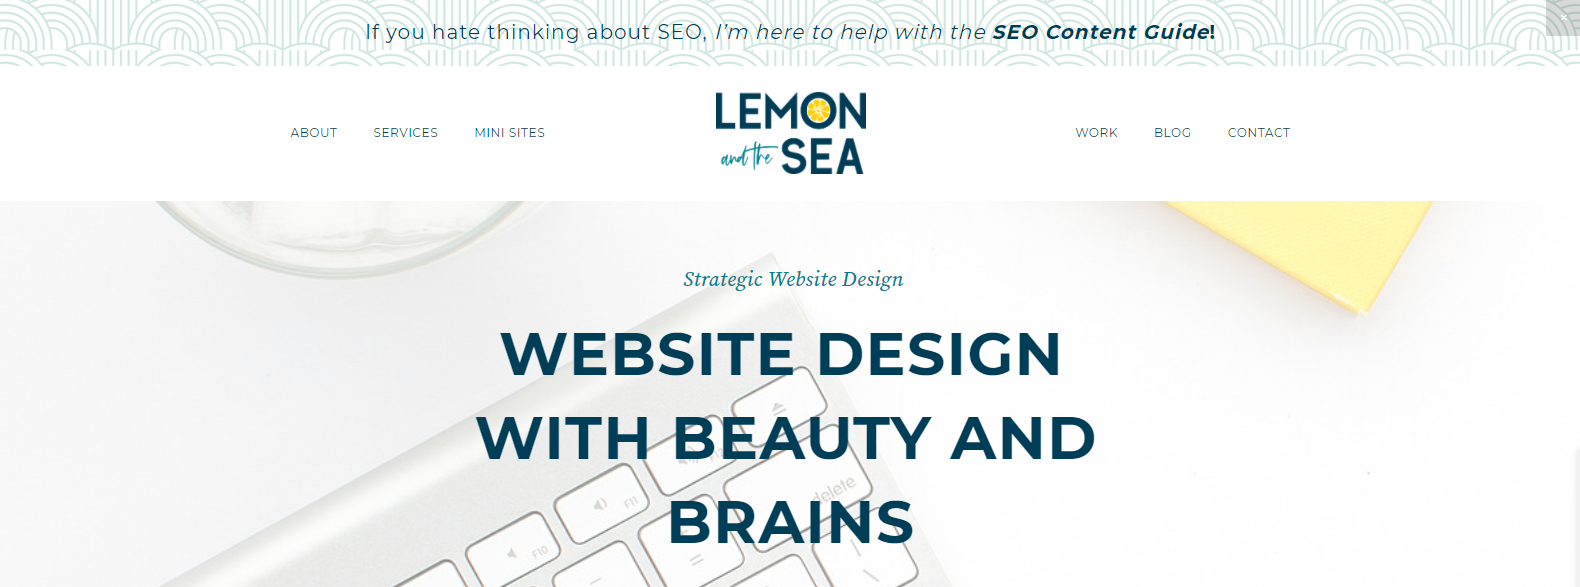
2. Add an image as the background
Choose the image you want to use as a background. It shouldn’t be too busy or have too many colors because you want the text to stand out on top of it. Patterns or textures work well for this. Also remember that you may need to crop the image in a program like Photoshop or Canva to get the right part of the image to display.
Once you have your image ready to go, you need to upload it to Squarespace. You can do this under Design > Custom CSS > Manage Custom Files. Then drag and drop your image file.
Insert this code and insert the correct image URL. The easiest way to do this in Squarespace is to delete the filler text and then click on the image in your Manage Custom Files menu. This will automatically fill in the image URL.
.sqs-announcement-bar {
  background: url(IMAGEURLHERE.jpg) !important;
  }
3. Change part of the text color
Sometimes you might want to have one part of the text of your Announcement Bar be different from the rest. While you can add italics and bold type in the Announcement Bar settings, there is more you can do with CSS.
Change part of the text to another color – If you want to make part of the text one color and highlight a few words with another color, you can do this with a few simple changes. First, make the words you want highlighted bold in the Announcement Bar content section. Then, use this CSS to change the color of the bolded text.
.sqs-announcement-bar p strong { color: COLORCODE !important; }If you want to keep the color, but not have the words bolded, you can change the font weight by replacing the “400” with the font weight that matches the normal font settings of the Announcement Bar (find these in Design > Site Styles > Announcement Bar > Font)
.sqs-announcement-bar p strong { color: COLORCODE !important; font-weight: 400; }
Want to include a third color? While I don’t usually recommend this from a design standpoint, it is an option and might make sense for your brand. You simply repeat the process above, but use Italic text instead.
.sqs-announcement-bar p em { color: COLORCODE !important; }And if you want to remove the italics, you can do that as well.
.sqs-announcement-bar p em { color: COLORCODE !important; font-style: normal !important; }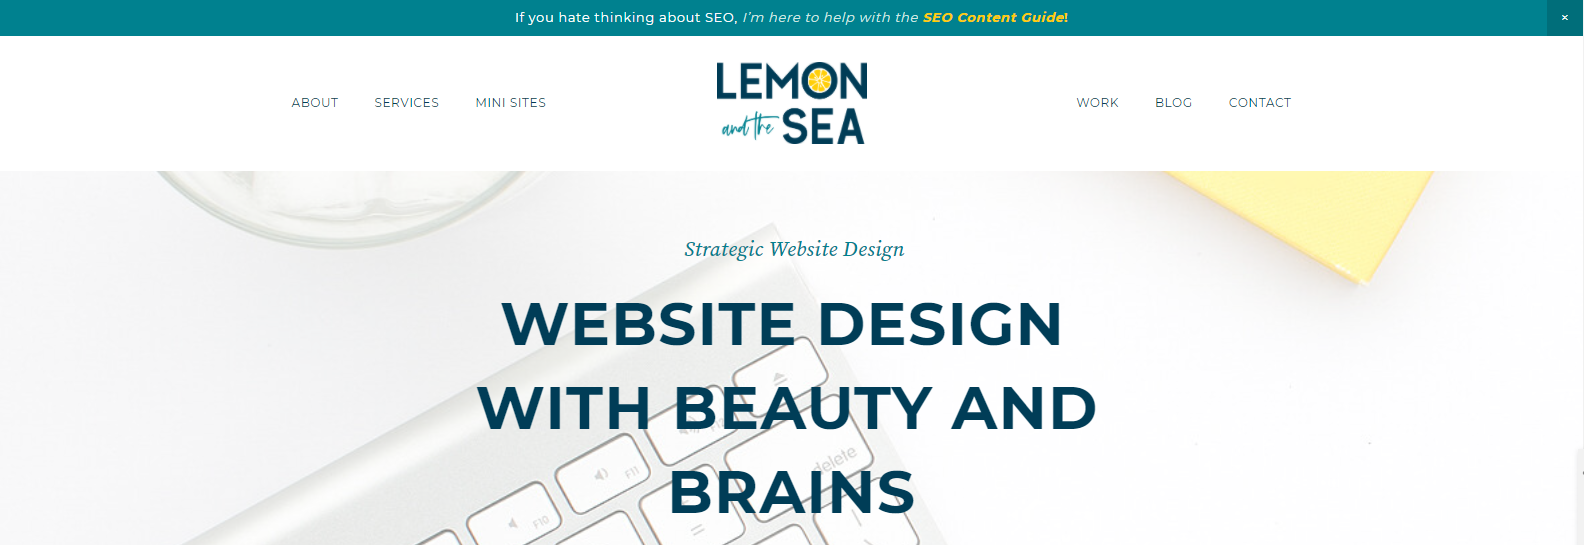
4. Make your link into a button
You can also add interest and create more conversions turning your link into a button on the Announcement Bar. To do this, you will need to add a link to part of the text of your announcement bar. You can do this in Marketing > Announcement Bar. Then highlight the text you want to display as a button and make it a link.
.sqs-announcement-bar-text a { border: 1px solid COLORCODE !important; background-color: COLORCODE !important; padding: 4px !important; text-decoration: none !important; font-weight: 900; }You can play around with the color of the button border, background color, and padding to create a button that fits your design. You can even add rounded corners if that fits your sit design!
.sqs-announcement-bar-text a { border: 1px solid COLORCODE !important; border-radius: 5px; background-color: COLORCODE !important; padding: 4px !important; text-decoration: none !important; font-weight: 900; }You can also add a hove effect so that the button changes when someone hovers over it. This makes it function as a button and visitors will know they can click on it.
.sqs-announcement-bar-text a:hover { border: 1px solid COLORCODE !important; background-color: COLORCODE !important; padding: 4px !important; text-decoration: none !important; font-weight: 900; }
5. Add a drop shadow
To add a little more interest to the Squarespace Announcement bar and make it stand out from the rest of your website, you can add a drop shadow below the bar. This usually works best in gray if your website background color is white, but you can also set it to be the same color as the announcement bar so it looks like it’s fading into your site.
.sqs-announcement-bar { box-shadow: 1px 1px 6px COLORCODE; }
The Squarespace Announcement Bar can be an effective design element to create conversions on your website when used correctly. Remember to keep the design eye-catching, but still legible, use a call-to-action that makes people want to click, and link to the action you want visitors to take.
You can also change the Announcement Bar as needed and I love the idea of using a different color or image to signal that it’s a new CTA for repeat visitors.